After creating a scenario, the next step is to plan the scenario by adding move assignments to it. From the Plan Move Scenario tab, you can:
You access the Plan Move Scenario tab by selecting Move Management/Move Scenario Planner /Develop Move Scenarios task. You can also select the Create Move Scenarios tab from the Request a Group Move, Review and Estimate Group Moves, and Issue Group Moves wizards. After selecting a group move project and a scenario, the Plan Move Scenario tab appears.
Before placing employees in rooms, you can update the move scenario to ensure that the move scenario is using the most up-to-date move project information.
To update the move scenario:
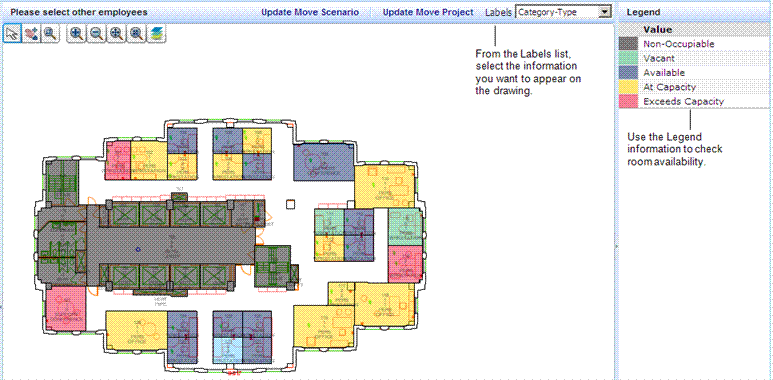
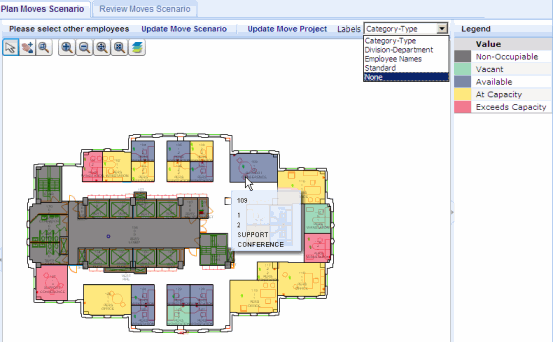
From the Plan Move Scenarios tab, you can select the information that you want to show in the drawing by making a selection from the Labels list. When you make a selection from the Labels list, the screen refreshes to show the type of information you have selected. When you mouse over a room, a tooltip shows the label information for that room. If an asset does not have a value entered for the selected information, a dash is shown for that data.
Note: If the asset text for your drawing exceeds the text boundary size, the labels will not be visible on the drawing. To fix this, hide both the Process Navigator and the selection list panels so that there is more space for the drawing to display, and zoom in on the drawing. The label text will now display.
The legend provides information on room availability that helps you make room assignments. The legend shows the highlighting used in the drawing for rooms that are non-occupiable, vacant, Under-Capacity (rooms that can have more than one occupant and that currently have additional capacity), At Capacity, Exceeds Capacity, or No Capacity Info (that is, rooms that do not have any capacity information entered).
If you have selected to show employee names, rooms that have no employees will have dashes where the employee names would appear.

Using the floor plan drawing's legend to guide your selections, you can place employees in rooms. After placing an employee, if you change your mind, you can unassign the employee.
To place employees in rooms for the scenario:
The floor plan drawing for the selected floor appears.
Note: When you mouse over a room, a tooltip shows information about the room. The information shown varies depending on the label you select from the Labels list. The below image shows the labels list selections, and a tooltip showing the category and type for the room the mouse is pointing to.

Next
To review a list of the assignments made for this scenario, or to generate a report for this scenario, see Review Move Scenarios.
See Also